Creamy Vanilla Dairy-Free Ice Cream – Budget-Friendly Healthy Dessert
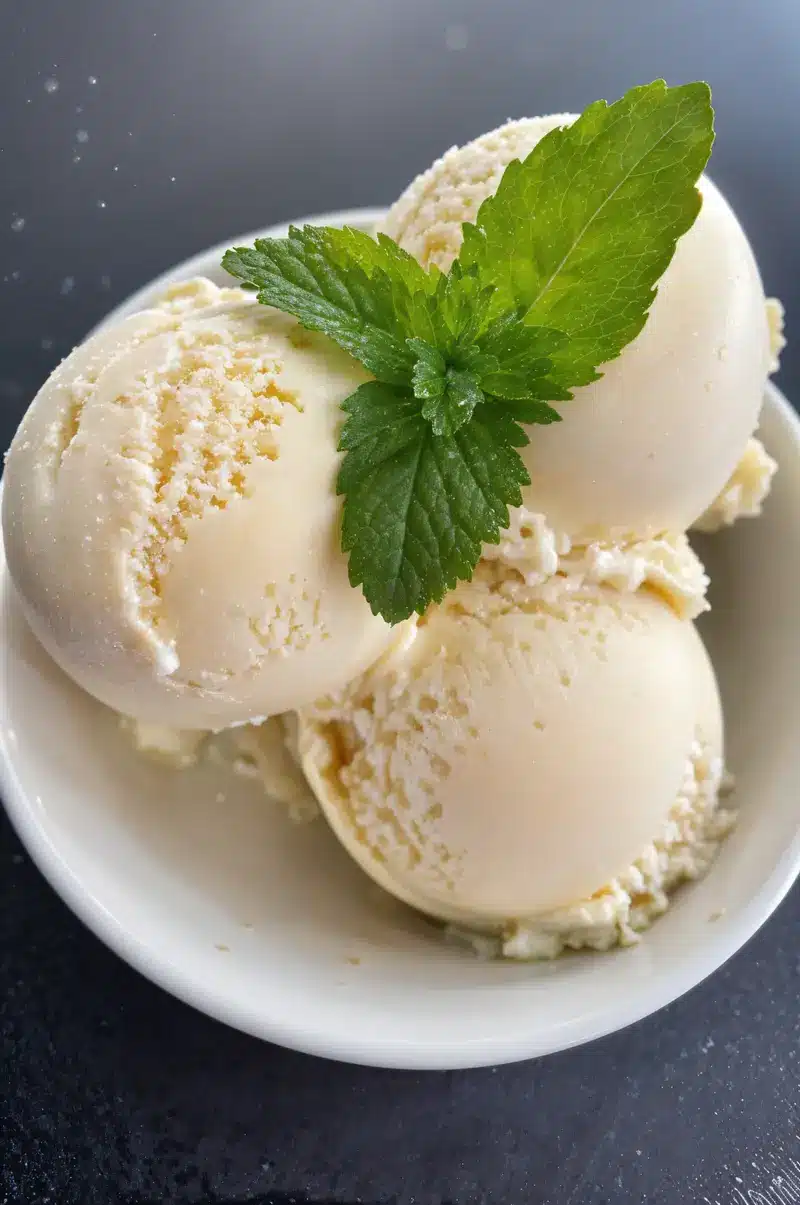
Let’s be honest — just because you’re dairy-free doesn’t mean you’ve stopped craving vanilla Dairy-free ice cream. But most options? They’re icy, bland, and need a jackhammer to scoop.
This one? A game-changer.
Born out of a summer night craving and zero dessert options, this vanilla dairy-free ice cream hits all the right notes. It’s that nostalgic flavor—soft, creamy, perfectly sweet—that feels like a throwback to the real thing. Only now, it’s 100% plant-based and made with ingredients you actually recognize.
Here’s what makes it different:
- A luxuriously creamy texture (no icy crystals)
- Deep, classic vanilla flavor (with a subtle twist)
- And no dairy, eggs, or refined sugar—just clean, feel-good indulgence
Whether you’re using an ice cream maker or the no-churn route, you’ll get a smooth, freezer-friendly result. It’s part of the handful of dairy-free dessert recipes I keep in rotation year-round when I want something cold, creamy, and guaranteed to hit the spot.
Want to go beyond the basics? Try our dreamy, pastel-hued Moonbeam Ice Cream for a colorful twist, or lean into rich cravings with our ultra-creamy Chocolate Dairy-Free Ice Cream—it’s like a frozen truffle in a scoop. For even more inspiration, you’ll find several of my go-to dairy-free dessert recipes in this core collection built around creamy, no-bake favorites.
We’ll also cover mix-in ideas, coconut-free swaps, and solutions for icy or chalky textures—because great ice cream should never be a compromise
What Makes vanilla dairy-free ice cream So Creamy?
The number one complaint about homemade vanilla dairy-free ice cream? “It’s icy.” And it makes sense—without dairy fats or egg yolks, most plant-based recipes struggle to mimic that velvety mouthfeel. But there’s a science-backed reason why this one actually scoops like the real thing.
Coconut Milk: The MVP of Creaminess
This recipe leans on full-fat canned coconut milk—not the carton kind, not light, and definitely not diluted. Why? Fat is flavor—but also structure. Coconut milk brings the same fat content you’d expect from heavy cream, minus the dairy, creating that lush texture straight from the freezer. No thawing dance needed.
If you’re coconut-wary, don’t worry—when paired with real vanilla extract and a touch of maple, the coconut flavor fades into the background. But if you’re coconut-averse altogether, check our coconut-free version (coming soon) for an oat-milk-based alternative that’s just as dreamy.
Maple Syrup: The Texture Hero
Using a liquid sweetener like maple syrup (instead of granulated sugar) is a subtle trick that prevents crystallization. It binds with water and fat in a way that keeps everything smooth, almost elastic. Plus, it infuses the base with a subtle warmth that deepens the vanilla flavor without overpowering it.
Optional Upgrade: A Pinch of Salt
Just a little—⅛ tsp sea salt—and suddenly the vanilla pops. It’s the kind of barely-noticed ingredient that makes everything taste more like itself. It also balances out the sweetness, especially if you’re adding swirls or mix-ins later.
Can I Use Almond or Oat Milk Instead?
Technically? Yes. But don’t expect the same texture. Low-fat milks = icier results. If you’re experimenting, consider blending with soaked cashews or adding a spoonful of almond butter to mimic the fat content of coconut.
Ingredient Breakdown & Smart Substitutions
Let’s keep it real: great vanilla dairy-free ice cream doesn’t need a long ingredient list—just smart choices. Here’s a closer look at what you’ll need, why it matters, and how to swap things out without ruining the texture or flavor.
Base Ingredients
- Full-Fat Canned Coconut Milk (2 cans)
This is non-negotiable for a creamy, scoopable texture. Make sure you’re using full-fat—not “lite” or carton coconut milk. Brands like Thai Kitchen, Aroy-D, or Native Forest work beautifully. Chill the cans overnight for best results. - Pure Maple Syrup (½ cup)
Beyond sweetness, maple syrup helps control texture and prevent crystallization. It also deepens the flavor, giving your vanilla base a mellow, almost caramel-like warmth. - Vanilla Extract (1½ tablespoons)
Use pure vanilla extract (or vanilla bean paste if you’re feeling fancy). It’s the soul of your ice cream. For a next-level upgrade, try scraping a real vanilla bean into the mix. - Pinch of Sea Salt (⅛ tsp)
Seems small—but salt enhances sweetness and sharpens the vanilla. It brings balance to every bite.
Ingredient Substitutions (if you’re missing something)
| Ingredient | Swap With | Notes |
|---|---|---|
| Coconut Milk | Cashew Cream or Oat Cream | Expect a slightly softer texture |
| Maple Syrup | Agave, Date Syrup, Coconut Sugar Syrup | Watch for flavor shifts |
| Vanilla Extract | Vanilla Bean, Vanilla Paste | Bean = stronger aroma, elegant flecks |
| Sea Salt | Himalayan or Kosher Salt | Just a pinch, regardless of type |
Can I Make This Ice Cream Lower in Sugar?
Absolutely. You can reduce the maple syrup to ⅓ cup or even add stevia drops if preferred. Just know it might alter the smoothness of your vanilla dairy-free ice cream, so churn time and freezer rest may need adjustment.
How to Make Vanilla Dairy-Free Ice Cream (Step by Step)
The best part about this vanilla dairy-free ice cream? It’s almost too easy. With just a few ingredients and one bowl, you’ll be on your way to scoopable, creamy perfection. Whether you’re using an ice cream maker or going old-school no-churn, here’s exactly how to do it.
With an Ice Cream Maker
- Chill Everything First
Place your coconut milk cans in the fridge overnight. Also chill the ice cream maker bowl if required by your machine. Cold ingredients = smoother churn. - Mix the Base
In a medium mixing bowl, whisk together:- 2 cans full-fat coconut milk
- ½ cup maple syrup
- 1½ tbsp pure vanilla extract
- A pinch of sea salt
- Churn
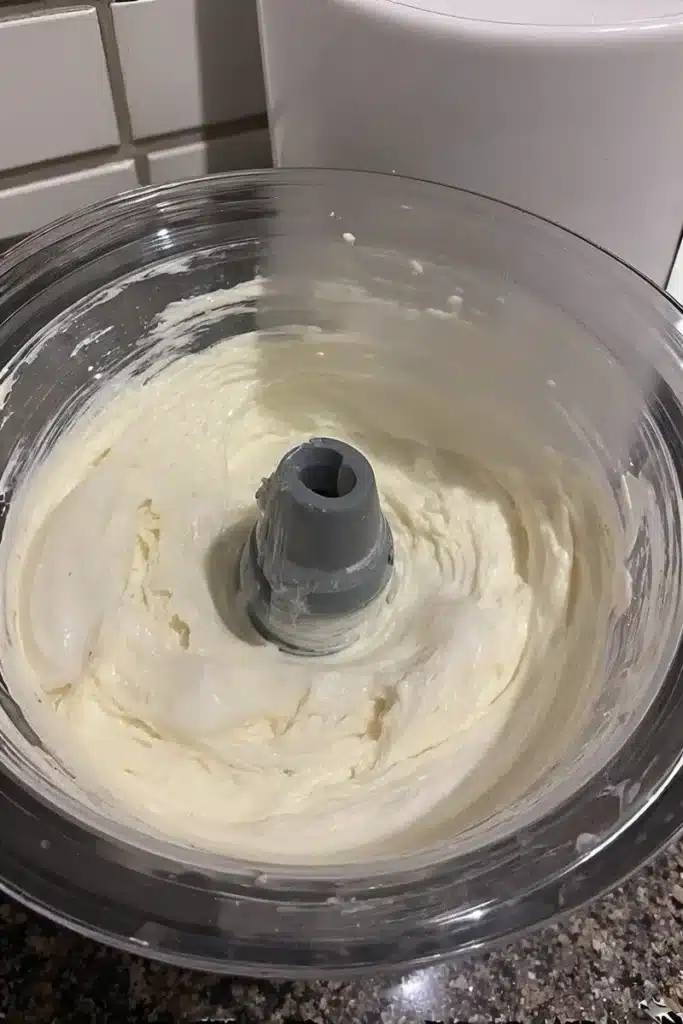
Pour the mixture into your machine and churn for 20–25 minutes, or until it reaches soft-serve consistency. It should look thick and pillowy. - Freeze to Set
Transfer to a freezer-safe container. Press parchment or wax paper over the top to prevent ice crystals. Freeze 3–4 hours, or until firm. - Scoop & Serve
Let sit at room temp for 5–10 minutes before scooping. Then dive in.
No-Churn Method (No Machine)
- Whisk the base ingredients just like above.
- Blend (Optional)
For even smoother texture, blend the base for 30–60 seconds before freezing. - Pour into container
Use a loaf pan or shallow container. Cover tightly. - Stir every 30–45 minutes
For the first 3 hours, stir the mixture with a fork every 30–45 minutes. This breaks up ice crystals and mimics churning. - Let freeze solid
Once fully set, scoop and enjoy.
Should I Blend the Mixture First?
If you’re going no-churn, yes. Blending helps emulsify the fat and liquid—especially important with coconut milk—giving your vanilla dairy-free ice cream that dreamy texture.
Flavor Variations & Fun Mix-Ins
Once you’ve nailed the base, the real fun begins. Vanilla dairy-free ice cream is a blank canvas — perfect for swirling, folding, and infusing with personality. Here’s how to level it up.
Add Swirls & Ribbons
- Berry Ripple: Warm up ½ cup of raspberries with 1 tbsp maple syrup. Cool completely, then swirl into the soft-serve before freezing.
- Peanut Butter Fudge: Melt peanut butter and vegan chocolate chips together. Drizzle into the churned ice cream in layers.
- Caramel Dream: Use coconut caramel or date caramel for a salty-sweet swirl that pairs beautifully with the vanilla base.
Fold-In Favorites
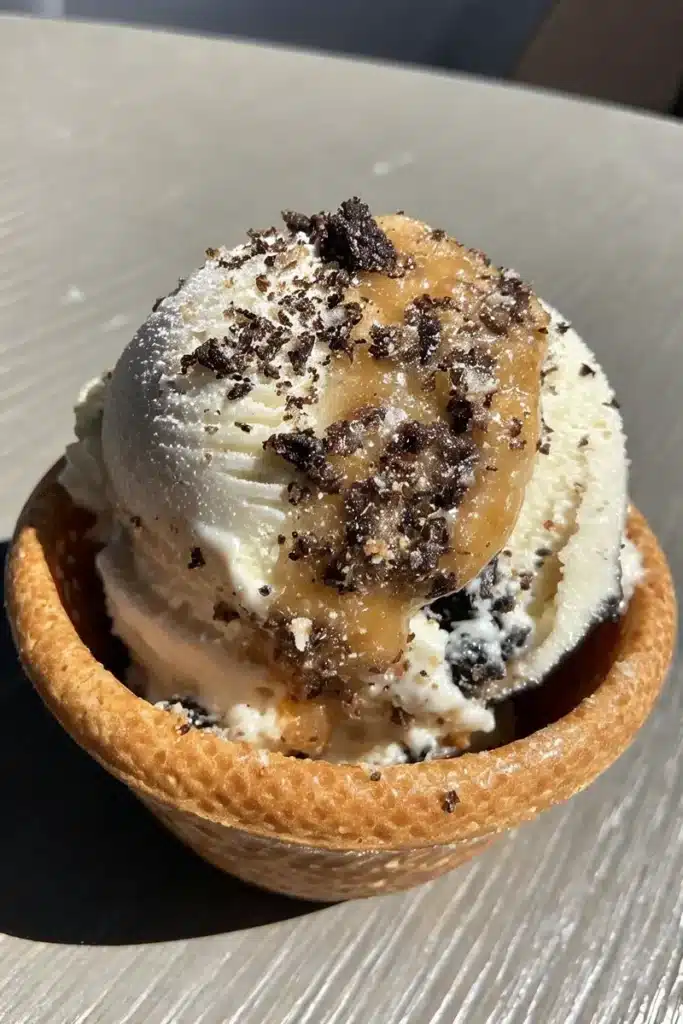
- Crushed Cookies (hello, gluten-free Oreos or graham crackers)
- Chocolate Chips or shaved dark chocolate
- Toasted Coconut Flakes or chopped nuts
- Spiced Pecans or candied almonds for crunch
Upgrade the Vanilla
- Vanilla Bean Paste or Pod: Adds depth and those signature black flecks.
- Bourbon Vanilla: Just a splash gives your ice cream a mellow, grown-up twist.
- Cinnamon or Cardamom: A pinch warms the flavor for fall-friendly vibes.
When Should I Add Mix-Ins?
For best texture, fold in your extras during the last 2–3 minutes of churning — or after the first hour of no-churn freezing. This keeps everything evenly distributed and prevents sinking.
Serving Ideas & Perfect Pairings
Sure, you could eat this vanilla dairy-free ice cream straight from the tub (no judgment here). But if you’re feeling a little extra — or want to impress guests — here are creative, effortless ways to serve it that feel indulgent, not complicated.
Scoop & Stack
- Classic Sundae Setup
Scoop your ice cream over warm brownies, then drizzle with maple syrup or vegan chocolate sauce. Top with toasted nuts and coconut whipped cream. - Ice Cream Sandwiches
Press between two vegan cookies (chocolate chip, almond butter, ginger molasses—whatever your vibe). Freeze for 30 mins to set. - Affogato-Style
Pour a shot of hot espresso over one scoop. The melt is magical. For a caffeine-free version, try chai tea or mushroom coffee.
Pair with Baked Treats
- Apple Crisp or Peach Cobbler: A warm fruit dessert + cold vanilla ice cream = win.
- Banana Bread: Slice it thick and add a generous scoop on top.
- Waffles or Pancakes: Make brunch dessert happen.
Can I Pre-Scoop for Guests?
Absolutely. Scoop balls of ice cream onto a parchment-lined tray, then freeze. Just transfer to bowls or cones when ready to serve—no sticky hands, no stress.
Freezing Tips & Storage Tricks
So you’ve churned the perfect vanilla dairy-free ice cream — smooth, dreamy, and irresistible. But three days later, it’s rock-solid. What happened?
Let’s fix that. Here’s how to store it so the texture stays scoopable, soft, and satisfying.
Use a Shallow Container
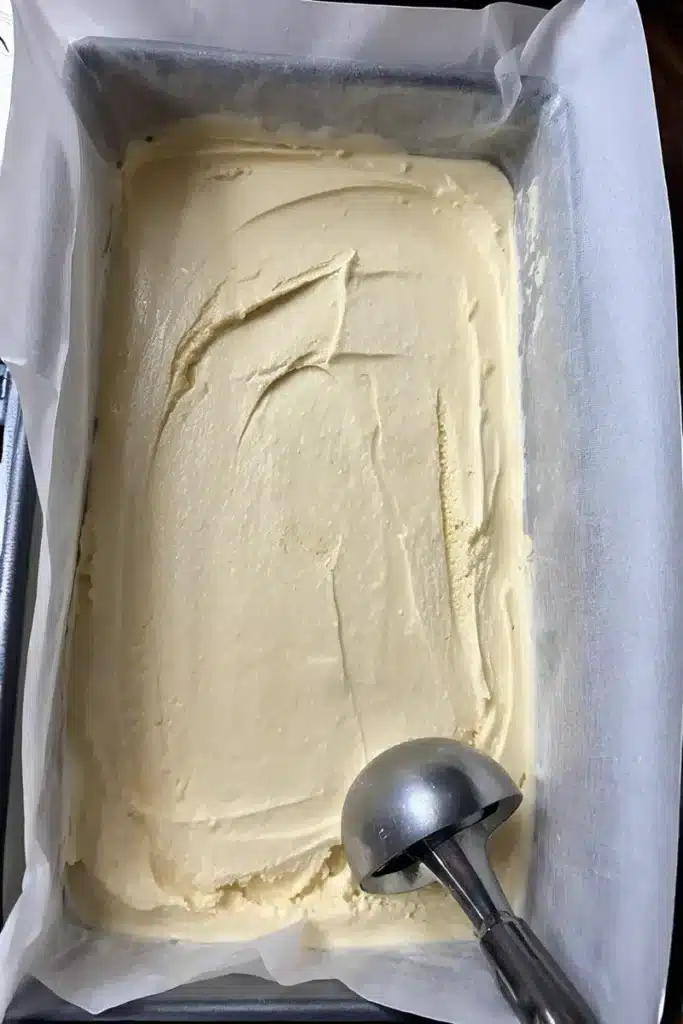
The less deep your container, the faster the freeze — and the smaller the ice crystals. A loaf pan works beautifully. Cover with parchment or wax paper to prevent freezer burn before sealing with a lid or foil.
Prevent Icy Texture
Plant-based bases tend to be more sensitive to temperature swings. Keep your ice cream toward the back of the freezer (away from the door) where it’s most stable.
Also: don’t skip the parchment paper layer — it creates a barrier that locks in moisture and keeps air out.
Let It Soften — Gently
When ready to serve, don’t microwave it (seriously). Just set it on the counter for 5–10 minutes. It’ll soften naturally, giving you that ideal scoop-without-sweat texture.
How Long Does It Last?
Stored properly, this vanilla dairy-free ice cream keeps up to 2 weeks before the texture starts to degrade. But honestly? It never lasts that long in our house.
Nutrition & Allergy Info
One of the big perks of making your own vanilla dairy-free ice cream? You know exactly what’s in it — and what’s not. No stabilizers, gums, or mystery emulsifiers. Just real, plant-based ingredients your body can actually recognize.
Nutrition (Per ½ Cup Serving — Approximate)
- Calories: 180
- Fat: 16g (from coconut milk)
- Carbs: 10g
- Sugar: 8g (from maple syrup)
- Protein: <1g
- Fiber: 0g
Note: Numbers will vary slightly depending on brands and portion size.
This recipe is naturally:
- Dairy-Free
- Egg-Free
- Gluten-Free
- Soy-Free
- Refined Sugar-Free
Allergy Notes
- Coconut Allergy?
While coconut milk is key to the creaminess, you can experiment with cashew cream, oat milk, or a blend of non-dairy milks and soaked nuts. Just be aware: results will be slightly icier and may need extra fat (like almond butter) to balance. - Low-Sugar Version?
Reduce the maple syrup to ⅓ cup, or sub part of it with liquid monk fruit or stevia drops. You’ll lose a bit of body, but keep the sweetness.
Is It Safe for Kids?
Absolutely. Just skip the optional bourbon vanilla and you’ve got a kid-friendly, allergy-conscious dessert that even picky eaters will love.
Frequently Asked Questions About Vanilla Dairy-Free Ice Cream
What is the best non-dairy vanilla ice cream?
That depends on your priorities—taste, texture, or ingredients. Store-bought options like So Delicious, Oatly, and Van Leeuwen are popular for their smooth texture and flavor depth. But for full control (and no weird stabilizers), homemade versions like this one give you rich, creamy vanilla dairy-free ice cream with only a few simple ingredients. Plus, you can adjust sweetness, choose your milk base, and skip additives entirely.
Is Breyers vanilla ice cream non-dairy?
Only some Breyers products are dairy-free. Their Non-Dairy Vanilla Peanut Butter and Non-Dairy Cookies & Cream use almond milk as a base, but traditional vanilla Breyers still contains dairy. Always double-check labels—especially if you’re strictly avoiding lactose or casein.
Is Ben and Jerry’s Non-Dairy actually non-dairy?
Yes, Ben & Jerry’s Non-Dairy line is completely free of milk, cream, and other dairy ingredients. They use almond milk, sunflower butter, or oat milk bases depending on the flavor. That said, many of their products are made in shared facilities, so they may not be suitable for those with severe allergies. For a truly clean, allergy-controlled option, making your own vanilla dairy-free ice cream at home is the safest bet.
Does McDonald’s have any dairy-free ice cream?
Currently, McDonald’s does not offer a certified dairy-free soft serve or ice cream option in most regions. Their signature vanilla cone and sundaes still contain dairy. However, they’ve experimented with plant-based desserts in some countries. Until dairy-free soft serve becomes a regular menu item, stick with homemade or trusted brands.
What is ice cream without milk called?
It’s often labeled as non-dairy ice cream, dairy-free frozen dessert, or vegan ice cream. Legally, in some regions, it can’t be called “ice cream” unless it contains a minimum percentage of milk fat — so you might see it listed under alternative names. But make no mistake: a good vanilla dairy-free ice cream delivers the same satisfaction, scoop for scoop.
Final Scoop: Why This Vanilla Dairy-Free Ice Cream Is Worth Making
By now, you’ve seen just how easy (and genuinely satisfying) it is to make your own vanilla dairy-free ice cream—with no mystery ingredients, no dairy, and zero compromise on flavor or texture. Whether you go full classic or stir in your favorite swirls and crunch, what you’re really creating is a dessert that fits your values and your cravings.
It’s creamy enough for purists. Flexible enough for experimentalists. And simple enough that once you make it, store-bought options might never feel quite right again.
So here’s your next move:
Scoop it. Swirl it. Share it.
And if you put your own twist on this recipe, let me know—I’d love to hear what magic you come up with. You can leave a comment, pin it, or even tag me on Instagram with your creations.
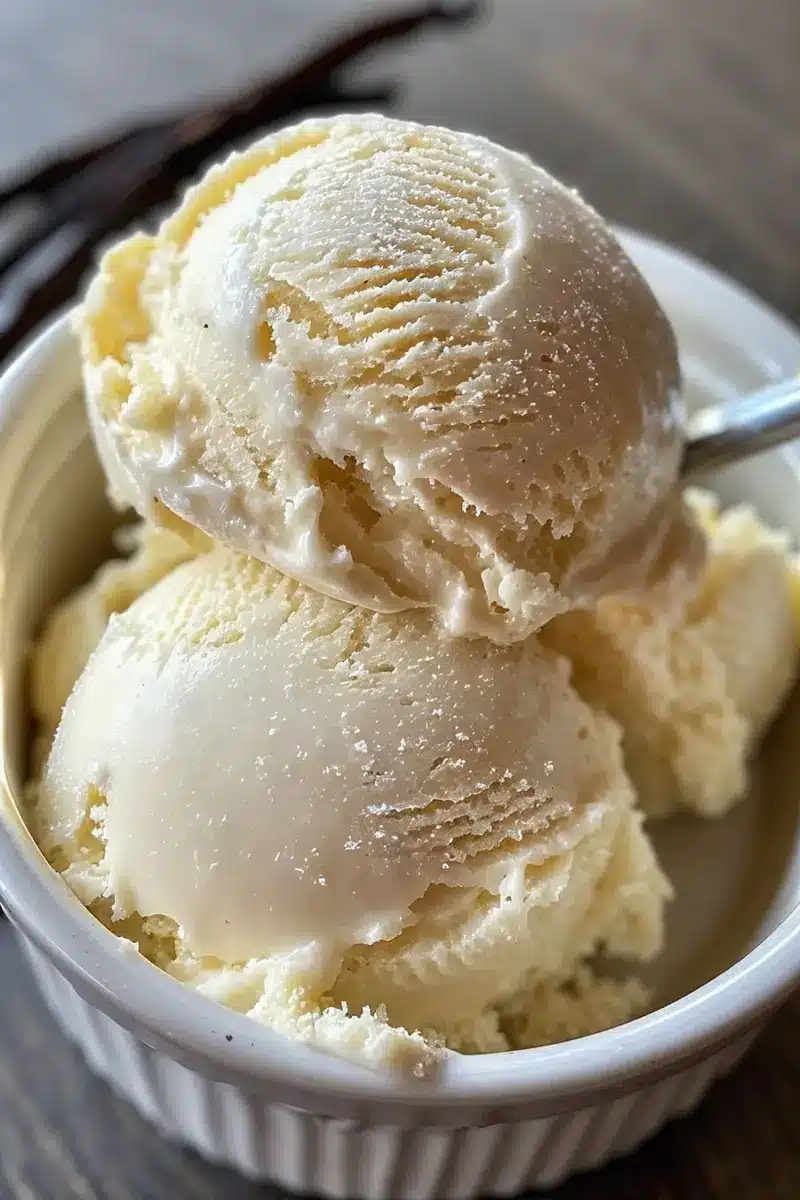
Vanilla Dairy-Free Ice Cream
Ingredients
Equipment
Method
- Chill coconut milk cans overnight. If using an ice cream maker, chill the bowl according to manufacturer instructions.
- In a mixing bowl, whisk coconut milk, maple syrup, vanilla, and sea salt until fully blended and smooth.
- For ice cream maker: Churn for 20–25 minutes until thick and pillowy. Transfer to container, press parchment on top, and freeze for 3–4 hours until set.
- For no-churn: Blend base (optional), pour into loaf pan, and freeze. Stir every 30–45 minutes for 3 hours to break up crystals. Let freeze fully before serving.
- Add swirls, chips, or mix-ins near end of churning or during early freeze for even distribution.
- To serve, let ice cream sit at room temp for 5–10 minutes. Scoop and enjoy!


