Chocolate Dairy-Free Ice Cream – Budget-Friendly Healthy Dessert
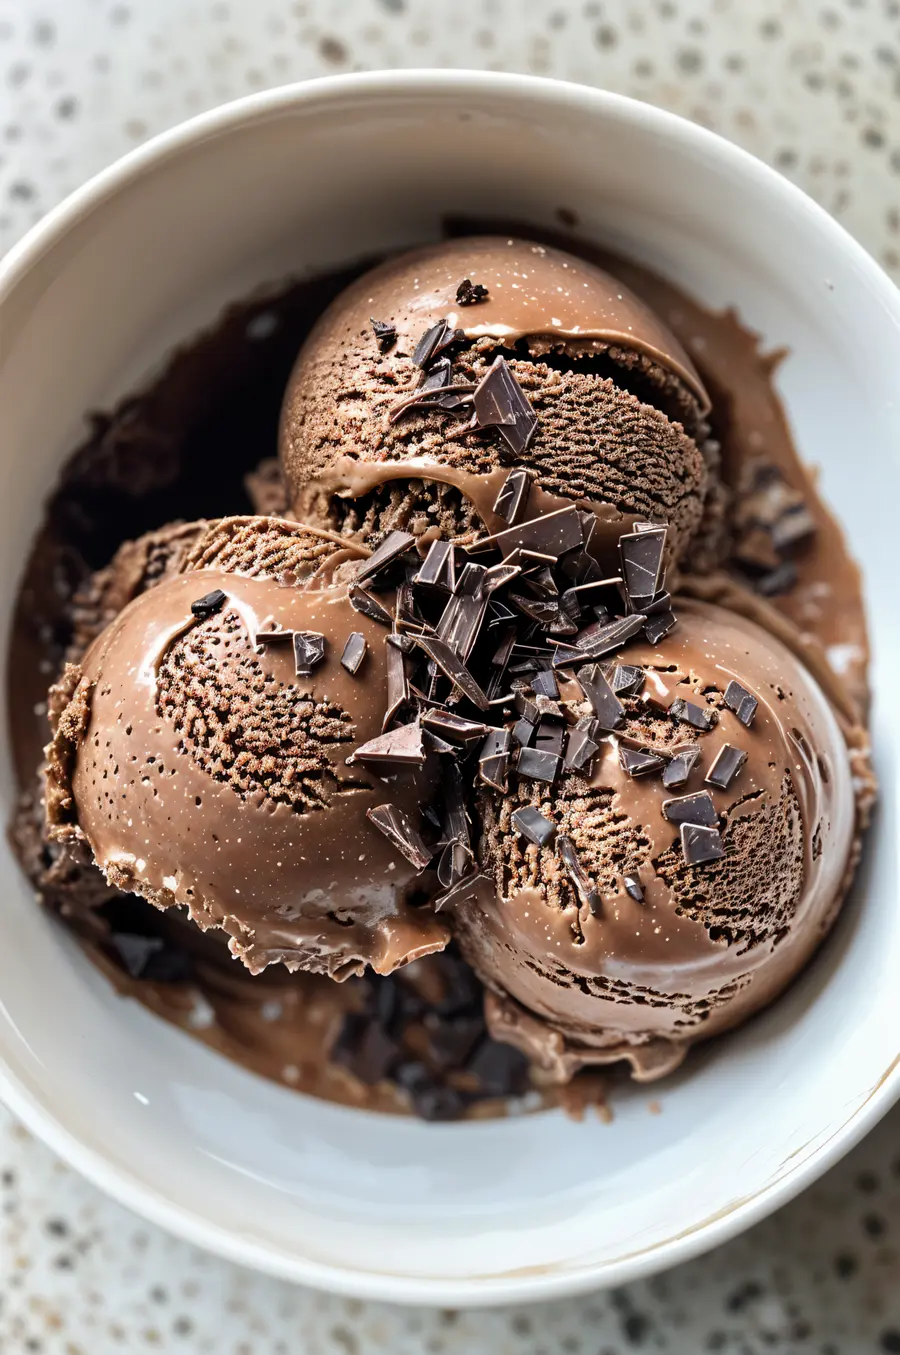
We all get those cravings for something chocolatey, rich, and frozen… but if you’re living dairy-free (like me), store-bought pints are pricey, filled with additives, and often just disappointing.
That’s where this Chocolate Dairy-Free Ice Cream comes in! Made from simple pantry staples, this recipe is:
- Naturally sweetened.
- No-churn (no fancy ice cream maker needed).
- Intensely chocolatey yet light enough for summer.
- 100% vegan and totally creamy.
Best of all? It’s a budget-friendly healthy dessert that costs about $1.10 per serving, and you can whip it up in under 10 minutes of active prep. Whether you’re meal prepping, treating kids, or just need a chocolate fix, this recipe has your back.
Prefer classic flavors? Check out my Coconut Milk Ice Cream Recipe for a simple, tropical twist on dairy-free ice cream.
Table of Contents
What You’ll Need
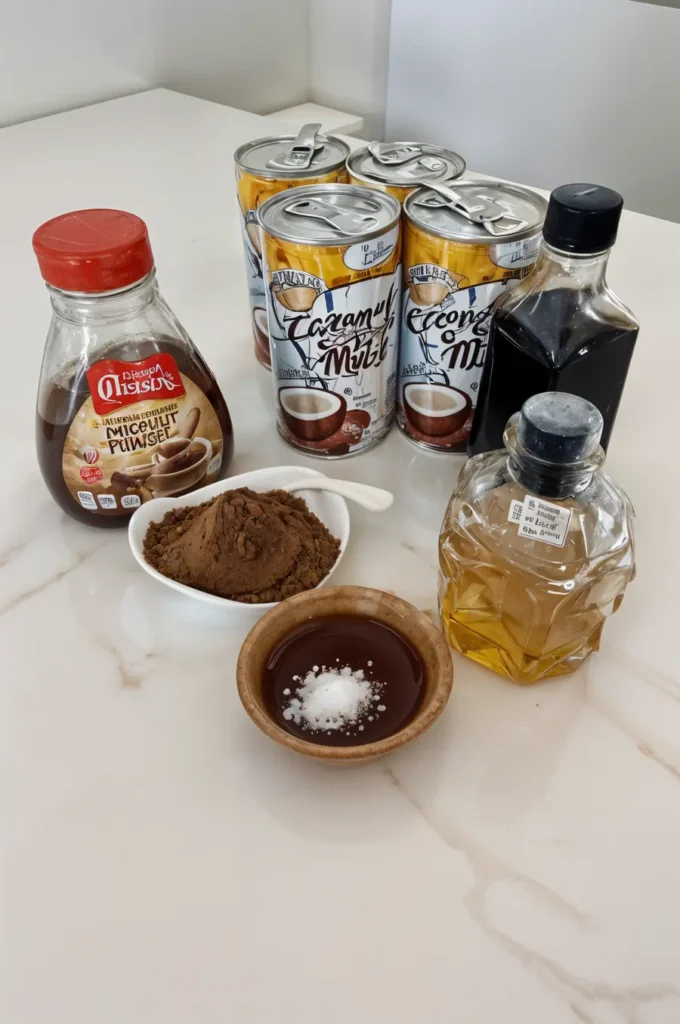
To create this ultra-creamy chocolate dairy-free ice cream at home, all you need are a few pantry staples. This recipe delivers deep chocolate flavor while staying 100% dairy-free and vegan—perfect for anyone craving homemade frozen treats.
Ingredients List (with Approximate Costs)
- Full-Fat Coconut Milk (2 cans) – $3.00
The creamy base that makes this chocolate dairy-free ice cream rich and luscious. - Unsweetened Cocoa Powder (1/3 cup) – $1.00
Essential for bold chocolate flavor. Choose quality cocoa for the best results in your dairy-free ice cream. - Maple Syrup or Agave (1/3 cup) – $1.50
Natural sweetener to balance the chocolate. - Pure Vanilla Extract (1 tbsp) – $1.20
Brings out the chocolate flavor in your homemade chocolate dairy-free ice cream. - Pinch of Sea Salt – negligible cost
Deepens the flavor. - Optional: Plant-Based Protein Powder (1–2 tbsp) – ~$0.75
Boosts creaminess and adds protein to your chocolate dairy-free ice cream.
Optional Toppings
- Shaved dark chocolate
- Chopped nuts
- Fresh berries
- Toasted coconut
Total Estimated Cost: ~$6.45
Servings: 6
Approx. Cost Per Serving: $1.10
Why This Recipe Works
This chocolate dairy-free ice cream doesn’t just taste amazing—it’s designed for maximum creaminess, deep chocolate flavor, and effortless preparation. Here’s why this recipe stands out from store-bought and other homemade options:
1. Coconut Milk = The Creamy Secret
Using full-fat coconut milk gives your chocolate dairy-free ice cream its luxurious, scoopable texture. Unlike almond or oat milk, coconut milk brings the fat content needed to mimic traditional ice cream without the dairy.
2. Real Cocoa Powder = Bold Chocolate Flavor
Forget weak chocolate taste! Using unsweetened cocoa powder delivers intense chocolate richness while keeping this dessert naturally dairy-free.
3. Maple Syrup = Smooth Sweetness Without Refined Sugar
Natural sweeteners like maple syrup or agave prevent iciness and keep your ice cream smooth. Liquid sweeteners help emulsify the fat and chocolate, resulting in a velvety texture.
4. No-Churn Method = Zero Fuss
Unlike many recipes, this chocolate dairy-free ice cream doesn’t require an ice cream maker. Just blend, freeze, stir occasionally, and enjoy—simple enough for beginners.
5. Optional Protein Boost
Adding a scoop of plant-based protein powder makes this more than just dessert. It becomes a high-protein dairy-free recipe, perfect as a post-workout treat or protein-packed snack.
Whether you’re following a vegan lifestyle or just craving healthier sweets, this recipe proves that budget-friendly healthy desserts can be chocolatey, creamy, and easy to make at home.
Step-by-Step Instructions
Ready to make your own chocolate dairy-free ice cream? Here’s exactly how to do it, no fancy equipment needed.²
1. Chill the Coconut Milk
- Refrigerate 2 cans of full-fat coconut milk overnight. This helps the thick cream separate from any liquid.
Quick Tip: Short on time? Pop the cans in the freezer for 30 minutes.
2. Blend the Chocolate Ice Cream Base
- Scoop out the thick coconut cream into your blender or mixing bowl.
- Add 1/3 cup cocoa powder, 1/3 cup maple syrup, 1 tbsp vanilla extract, and a pinch of salt.
- Optional: Add 1–2 tablespoons plant-based protein powder for creamier texture and protein boost.
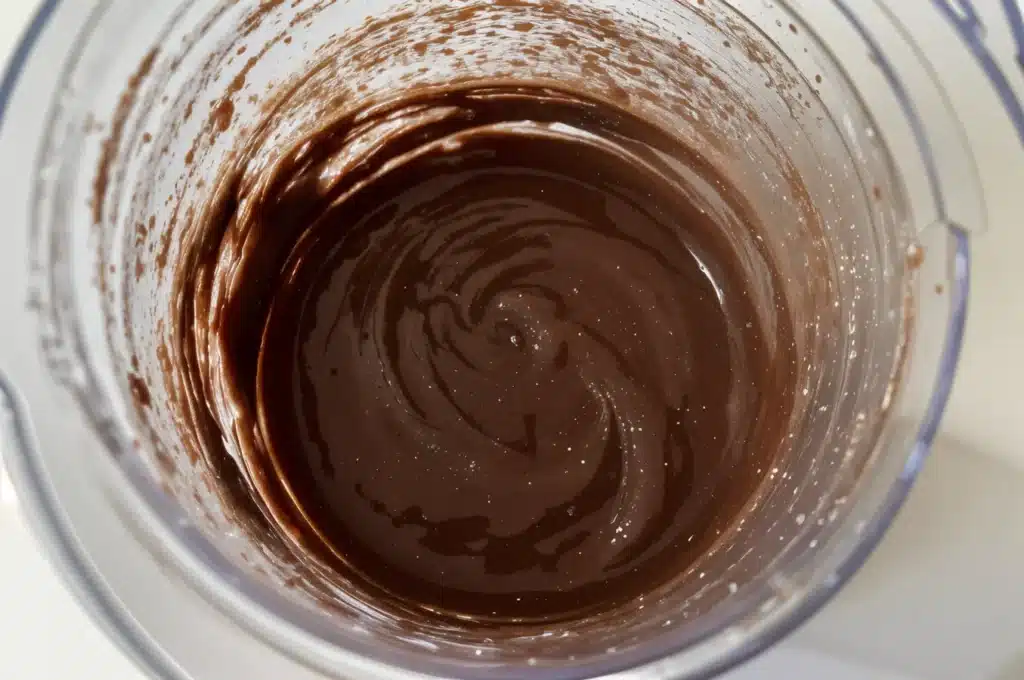
- Blend until silky smooth—about 30 seconds. Scrape down sides to make sure all cocoa powder mixes in.
At this stage, you’ll already smell that rich chocolate aroma—so good!
3. Taste & Adjust
- Taste the mixture. Want it sweeter? Add 1 more tablespoon maple syrup.
- If too thick, add 1–2 tablespoons of the watery coconut milk.
4. Freeze
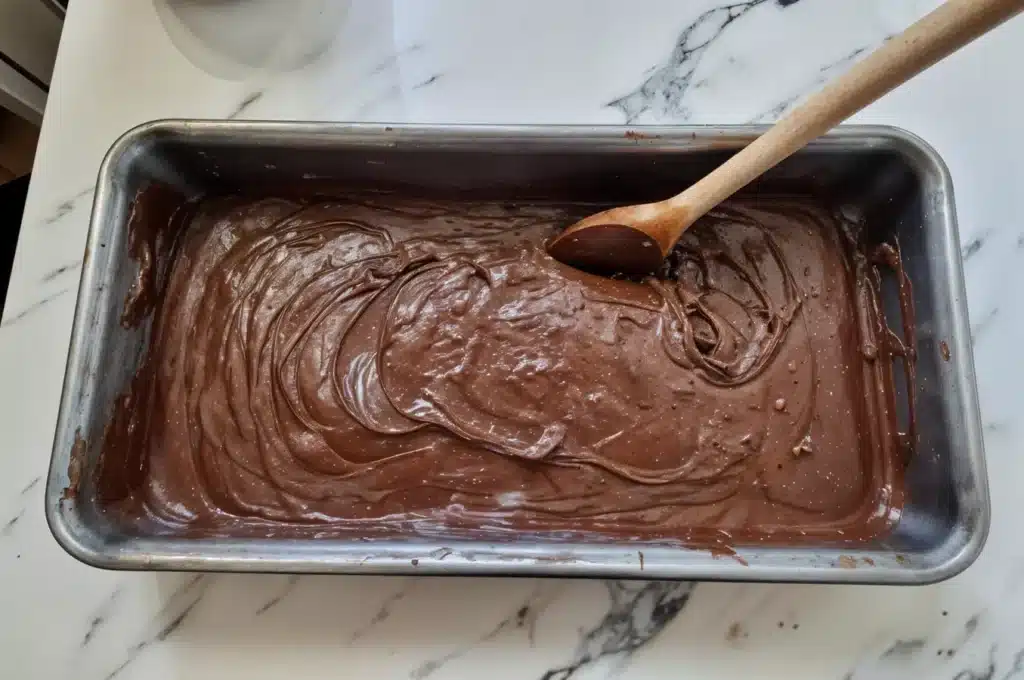
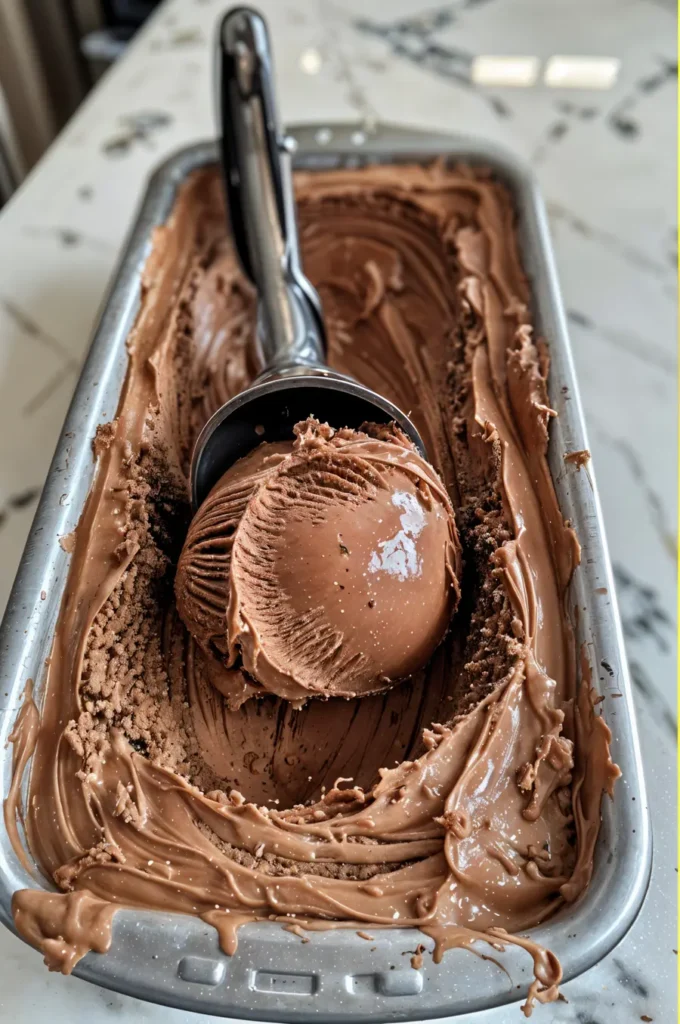
- Pour your chocolate dairy-free ice cream mixture into a freezer-safe pan (like a loaf pan).
- Cover tightly with plastic wrap or a lid.
5. Stir While Freezing
- Every 30–45 minutes, stir the mixture vigorously using a spatula or spoon. This prevents large ice crystals and keeps your ice cream creamy.
- After about 4–5 hours, it’ll be scoopable and ready.
6. Serve and Enjoy!
- Let your chocolate dairy-free ice cream soften for 5–10 minutes before scooping for the creamiest texture.
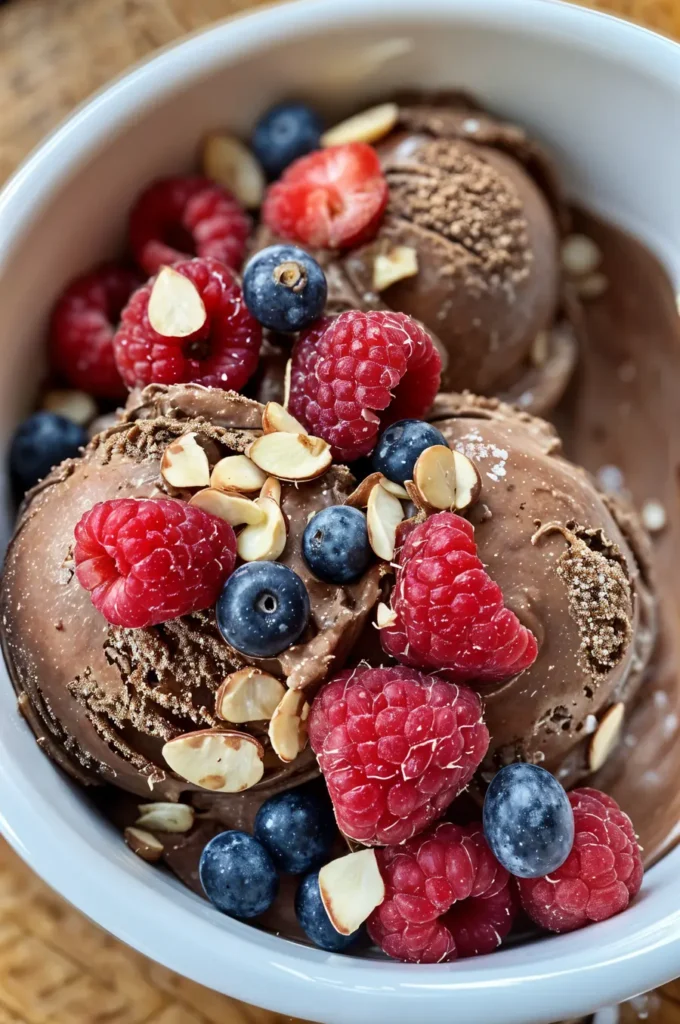
- Serve plain or topped with chocolate shavings, coconut flakes, or berries.
Quick Tips
To ensure your chocolate dairy-free ice cream turns out creamy and delicious every time, keep these simple tips in mind:
- Use Full-Fat Coconut Milk: Light coconut milk won’t give the same creamy texture essential for a proper dairy-free ice cream.
- Chill the Cans Overnight: Cold coconut milk helps the thick cream separate, making blending easier and improving texture.
- Blend Thoroughly: Cocoa powder can clump—so blend well for a silky smooth chocolate base.
- Taste Before Freezing: Adjust sweetness or chocolate intensity before freezing your ice cream base.
- Stir as It Freezes: Stirring every 30–45 minutes during freezing breaks up ice crystals and gives you that store-bought creaminess.
- Let It Soften Before Scooping: After freezing overnight, let your ice cream thaw for 10 minutes to soften perfectly for scooping.
- Protein Powder = Texture Boost: Adding unflavored or vanilla plant-based protein powder enhances creaminess and prevents iciness.
Variations & Substitutions
Want to make this chocolate dairy-free ice cream your own? Here are easy ways to customize and switch up flavors based on what you love (or what’s in your pantry!):
Flavor Variations
- Mocha Ice Cream:
Add 1 tablespoon instant espresso powder when blending for a rich coffee-chocolate combo. - Chocolate Mint:
Swap vanilla extract for 1/2 teaspoon peppermint extract to create refreshing mint chocolate ice cream. - Chocolate Almond:
Stir in 1/3 cup chopped almonds after blending for crunch and nutty flavor. - Double Chocolate Chunk:
Fold in dairy-free chocolate chips or chunks after blending for extra chocolate goodness.
Ingredient Swaps
- Sweetener:
Swap maple syrup with agave, date syrup, or even coconut sugar (note: coconut sugar creates a deeper caramel-like flavor). - Milk Base:
Not a fan of coconut? Use homemade cashew cream (blended soaked cashews + water) or thick oat milk. Expect a slightly lighter texture. - Cocoa Powder:
Use dark cocoa powder for an even more intense chocolate flavor. - Protein Boost:
Add unflavored or chocolate plant-based protein powder to turn this dessert into a post-workout snack.
Optional Add-Ins
- Chopped nuts
- Coconut flakes
- Fresh raspberries
- Swirls of peanut butter or almond butter
- Shaved dark chocolate
FAQ – Chocolate Dairy-Free Ice Cream
Is there chocolate dairy-free ice cream?
Yes! This homemade chocolate dairy-free ice cream recipe proves you don’t need milk or cream to enjoy rich, chocolatey frozen treats. Store-bought options exist, but they’re often pricey or packed with additives—this recipe uses just real, simple ingredients.
What is dairy-free chocolate ice cream made of?
Typically, dairy-free chocolate ice cream uses coconut milk, cocoa powder, and a natural sweetener like maple syrup. In this recipe, full-fat coconut milk creates the creamy texture, while cocoa powder gives bold chocolate flavor without added dairy.
Do I need an ice cream maker to make chocolate dairy-free ice cream?
No! This is a no-churn chocolate dairy-free ice cream recipe. A simple blender or whisk is all you need. Stirring the mixture every 30–45 minutes as it freezes prevents iciness and keeps the texture smooth and creamy.
Is this chocolate dairy-free ice cream healthy?
This recipe avoids refined sugars and dairy, uses healthy fats from coconut, and can be protein-boosted with plant-based powder. So yes—it’s a cheap healthy dessert that’s far better than store-bought alternatives.
This ultra-creamy chocolate dairy-free ice cream is proof that you don’t need dairy (or a fancy ice cream maker) to enjoy rich, chocolatey indulgence at home. Made from simple pantry staples, this recipe is:
- 100% dairy-free and vegan.
- Packed with real chocolate flavor.
- A budget-friendly healthy dessert, costing just around $1 per serving.
- Naturally sweetened and optionally protein-packed.
Whether you’re treating yourself after dinner or meal prepping summer sweets, this ice cream is guaranteed to hit the spot.

Chocolate Dairy-Free Ice Cream
Ingredients
Equipment
Method
- Refrigerate 2 cans of full-fat coconut milk overnight to help the cream separate. For faster results, freeze the cans for 30 minutes.
- Scoop the thick coconut cream into a blender or mixing bowl. Add cocoa powder, maple syrup, vanilla extract, sea salt, and optional protein powder. Blend until silky smooth, scraping down sides as needed.
- Taste the chocolate base and adjust sweetness or thickness by adding extra maple syrup or a tablespoon of coconut water if desired.
- Pour the chocolate mixture into a loaf pan or freezer-safe container. Cover tightly with plastic wrap or lid.
- Freeze for 4–5 hours. Every 30–45 minutes, stir the mixture vigorously to prevent ice crystals and promote creaminess.
- Let the ice cream soften for 5–10 minutes before scooping. Serve plain or with toppings like chocolate shavings, coconut flakes, or fresh berries.


