Creamy Coconut Milk Ice Cream – Dairy-Free, No-Churn Recipe
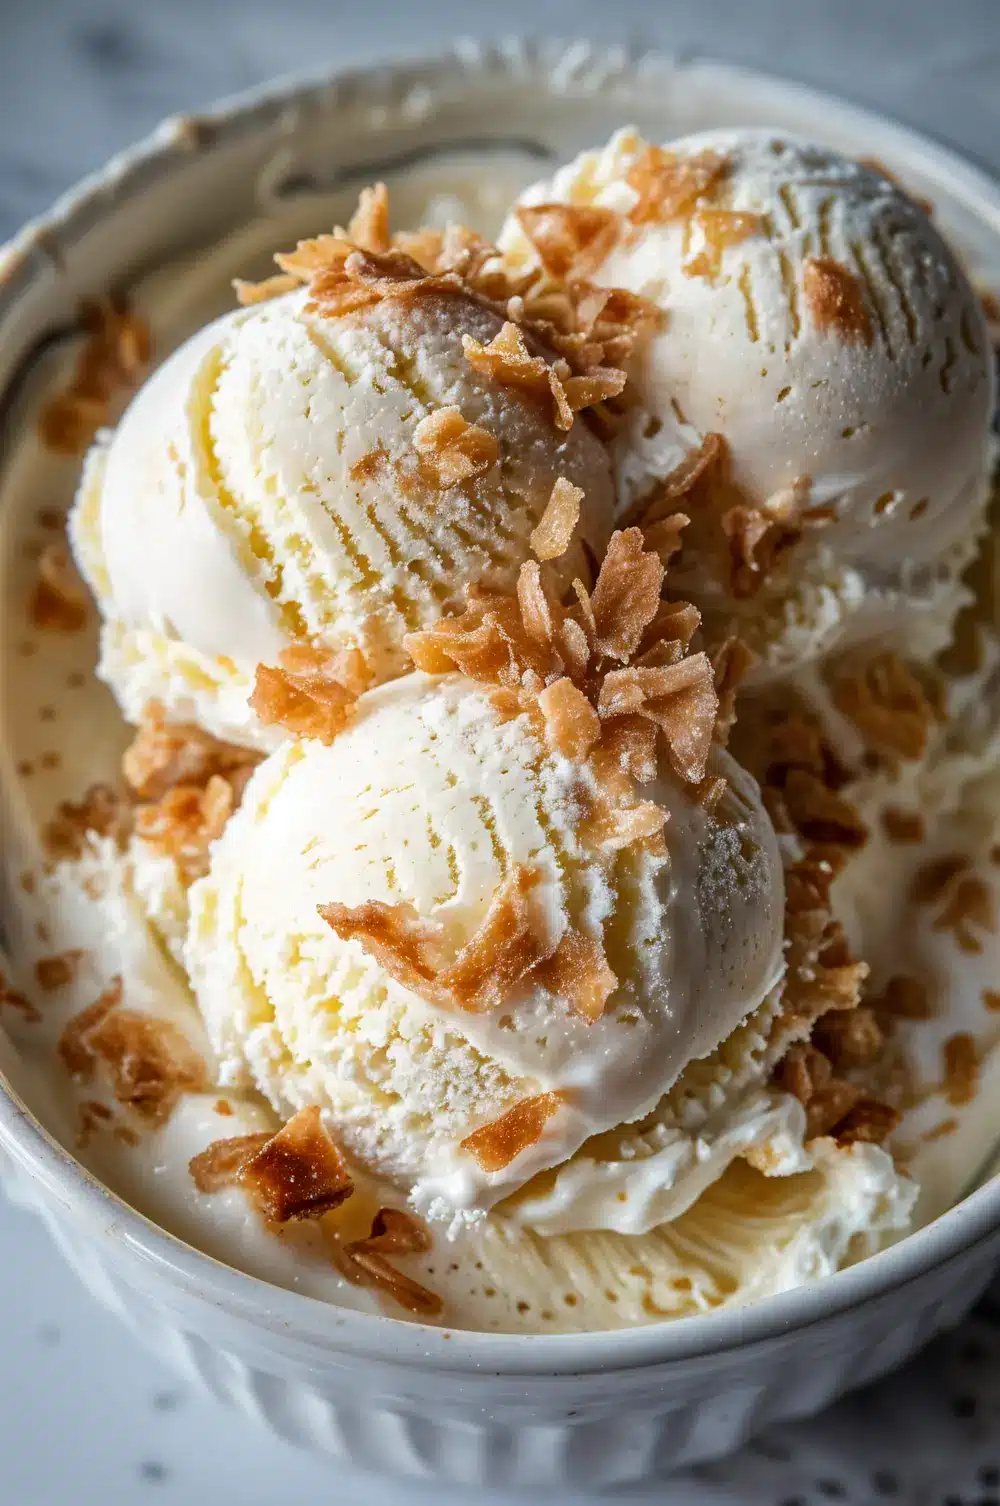
Busy week? Craving something sweet but keeping it dairy-free? I’ve got you! This Coconut Milk Ice Cream is the ultimate easy treat: rich, creamy, and made with just a few pantry staples.
It’s a budget-friendly healthy dessert perfect for hot days, meal prepping, or late-night cravings. Plus, it’s:
- 100% dairy-free and vegan-friendly.
- Naturally sweetened with maple syrup or agave.
- Made in under 10 minutes (plus freezing).
- No ice cream maker needed.
At around $1 per serving, this Coconut Milk Ice Cream recipe is your new go-to for creamy, guilt-free indulgence.
Table of Contents
What You’ll Need
Making creamy Coconut Milk Ice Cream at home is simpler than you might think! This recipe uses just a few wholesome ingredients to create a rich, scoopable, dairy-free treat.
Ingredients List (with Approximate Costs)
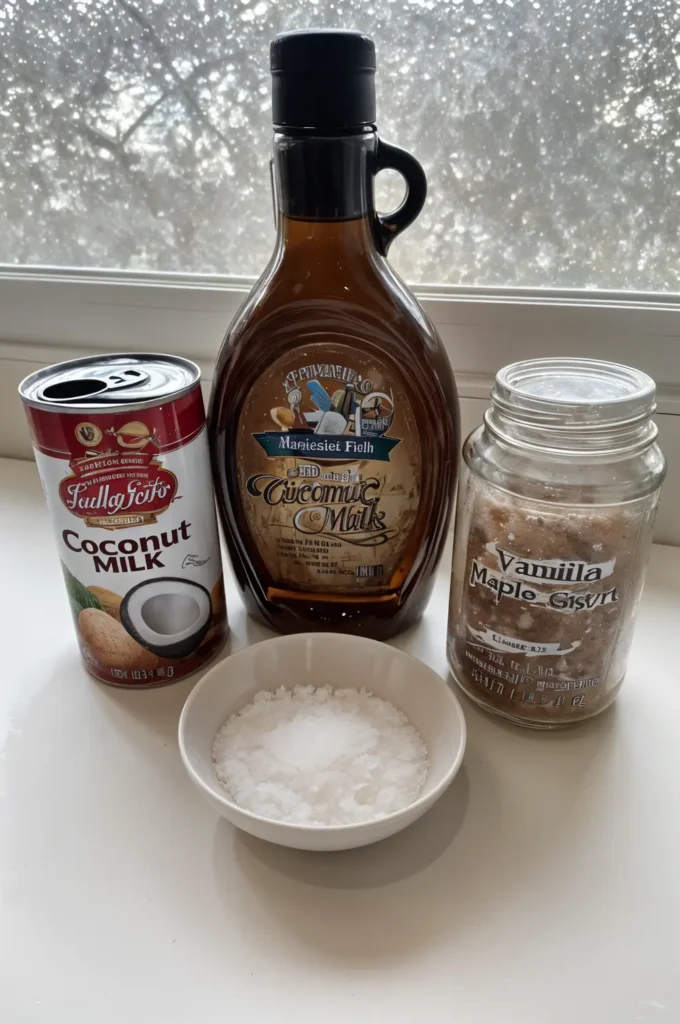
- Full-Fat Coconut Milk (2 cans) – $3.00
The rich base of this coconut milk ice cream recipe. Choose full-fat for best results. - Maple Syrup or Agave (1/3 cup) – $1.50
Natural sweetener that keeps your ice cream smooth and soft. - Pure Vanilla Extract (1 tablespoon) – $1.20
Adds depth of flavor to complement the coconut. - Pinch of Sea Salt – negligible cost
Balances sweetness and enhances flavor. - Optional: Plant-Based Protein Powder (1–2 tablespoons) – ~$0.75
For extra creaminess and protein boost.
Optional Add-Ins
- Toasted coconut flakes
- Dairy-free chocolate chips
- Chopped nuts or fresh fruit
- Swirls of peanut butter or fruit puree
Equipment Needed
- Blender or hand whisk
- Freezer-safe container (loaf pan works great)
- Spatula
- Optional: Ice cream maker (but not required!)
Total Estimated Cost: ~$6.45
Servings: 6
Approx. Cost Per Serving: $1.08
Why This Recipe Works
This coconut milk ice cream recipe isn’t just delicious—it’s designed to be simple, creamy, and satisfying without the need for dairy or fancy tools. Here’s why this version works so well:
1. Full-Fat Coconut Milk = Creamy Base
Coconut milk brings the richness you expect from ice cream. Its natural fats mimic heavy cream, giving your coconut milk ice cream that smooth, scoopable texture.
2. Natural Sweetener = Smooth, Not Icy
Maple syrup or agave keeps this ice cream naturally sweetened without refined sugar. Liquid sweeteners also help prevent iciness, which often happens in homemade non-dairy ice cream.
3. Vanilla Boosts Coconut Flavor
A splash of pure vanilla extract enhances the tropical notes of coconut without overpowering them.
4. No Ice Cream Maker Needed
This is a true no-churn coconut milk ice cream recipe. A blender or whisk is all you need! Stirring as it freezes helps keep it creamy.
5. Budget-Friendly Dessert
Store-bought non-dairy ice cream is expensive! At about $1 per serving, this coconut milk ice cream delivers flavor and creaminess without breaking your budget.
Step-by-Step Instructions
Ready to make your own coconut milk ice cream at home? Follow these easy steps for creamy, scoopable, dairy-free deliciousness!
1. Chill the Coconut Milk
- Place your 2 cans of full-fat coconut milk in the fridge overnight.
This step thickens the coconut cream, making your ice cream rich and creamy.
Quick Tip: If you’re short on time, freeze the cans for 30 minutes instead.
2. Blend the Ice Cream Base
- Scoop out the thick coconut cream into your blender or a mixing bowl.
- Add 1/3 cup maple syrup or agave, 1 tablespoon vanilla extract, and a pinch of sea salt.
- Optional: Add 1–2 tablespoons of plant-based protein powder for extra creaminess.
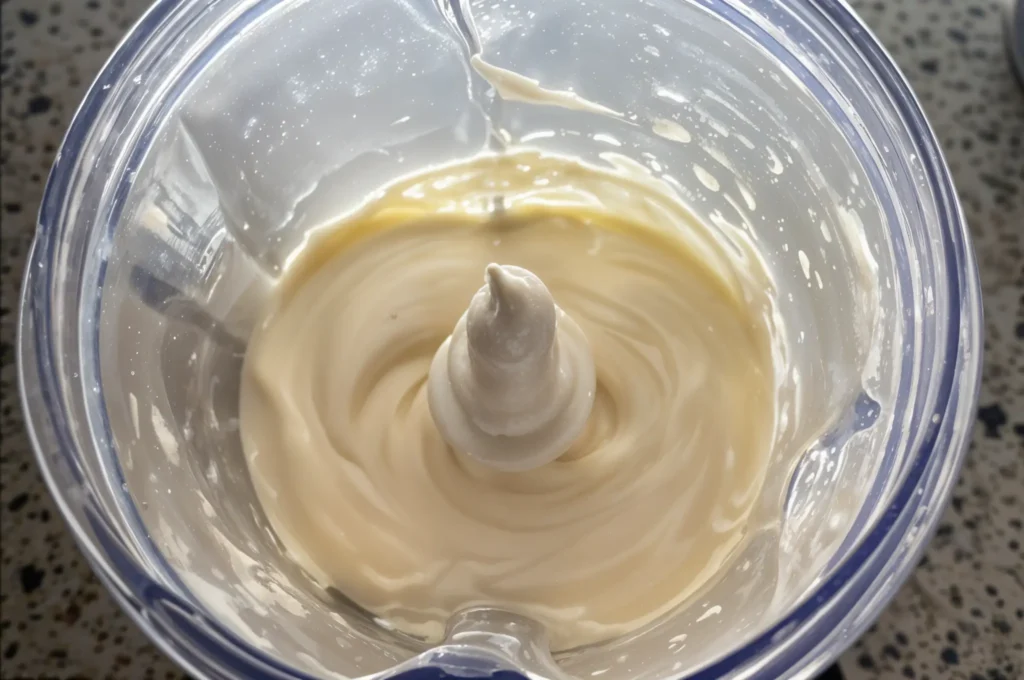
- Blend until completely smooth—about 30 seconds. Scrape down the sides as needed.
3. Taste and Adjust
- Taste your mixture. Want it sweeter? Add a touch more maple syrup.
- If the texture feels too thick, add 1–2 tablespoons of the coconut water left in the can.
4. Pour and Freeze
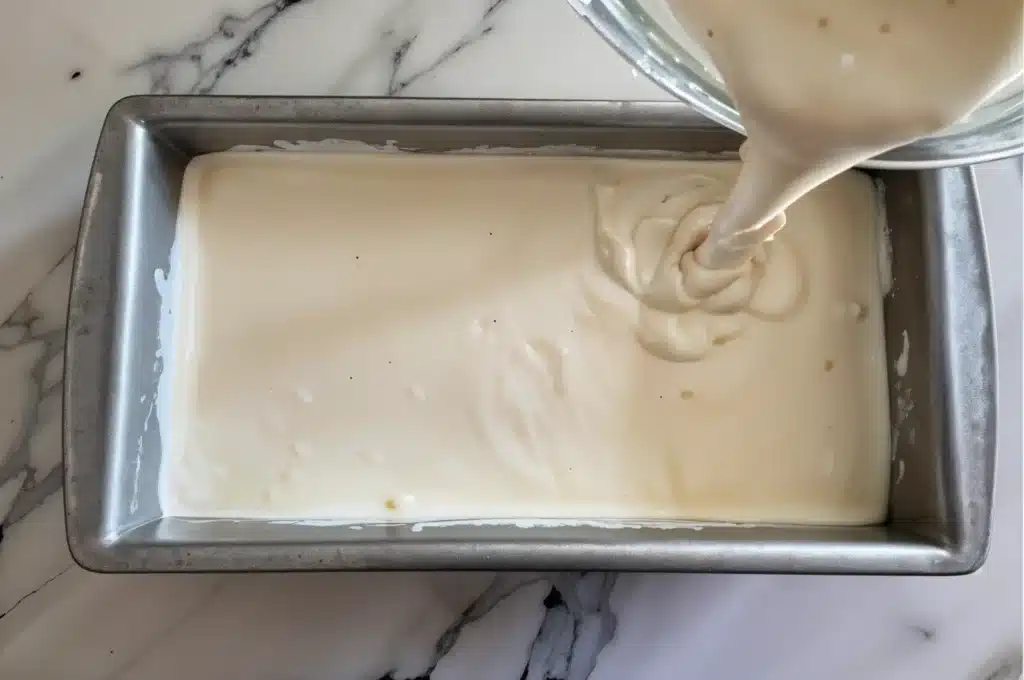
- Pour the coconut milk ice cream mixture into a freezer-safe pan (I love using a loaf pan).
- Cover tightly with plastic wrap or a reusable lid.
5. Stir Occasionally While Freezing
- For the first 2–3 hours, stir the mixture every 30–45 minutes. This prevents ice crystals and keeps your ice cream creamy.
- After about 4–5 hours, your ice cream should be scoopable and ready.
6. Serve and Enjoy!
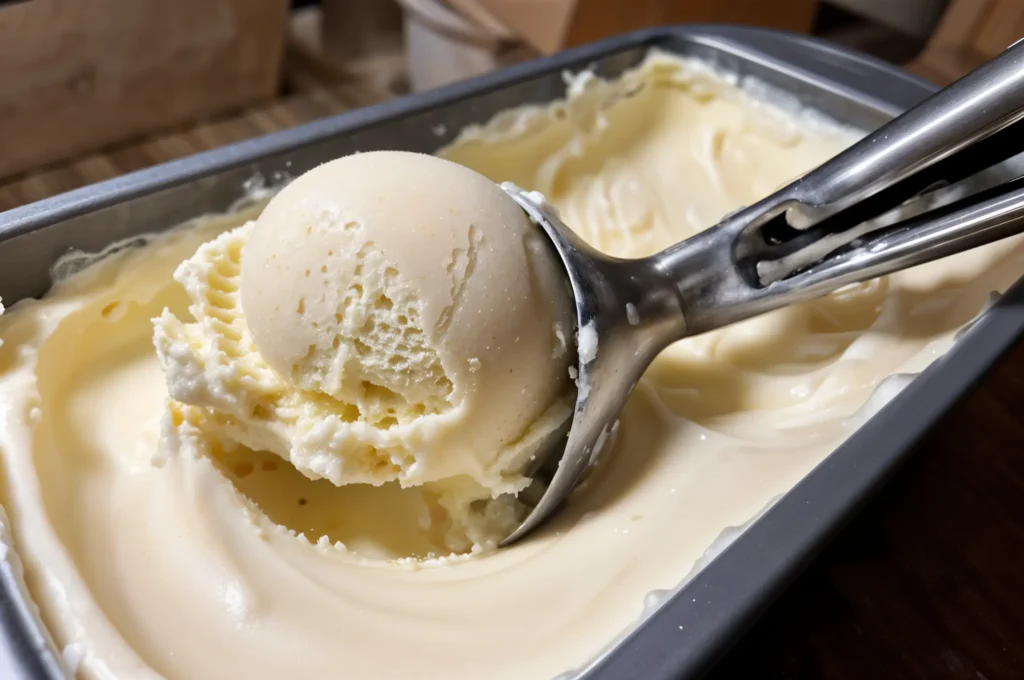
- Let your coconut milk ice cream soften at room temperature for 5–10 minutes before scooping.
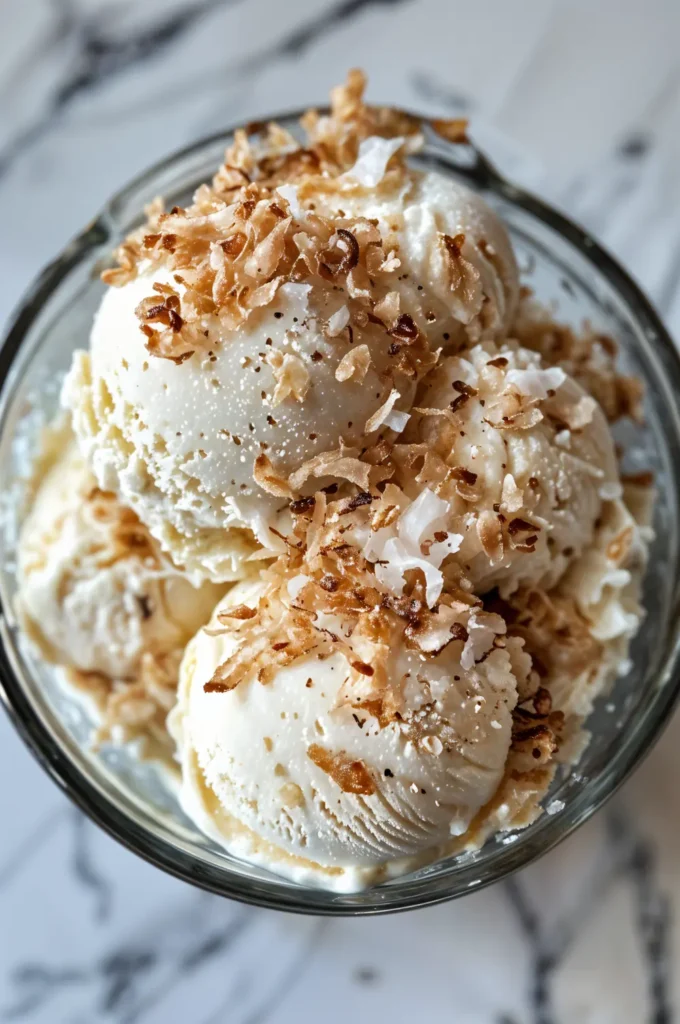
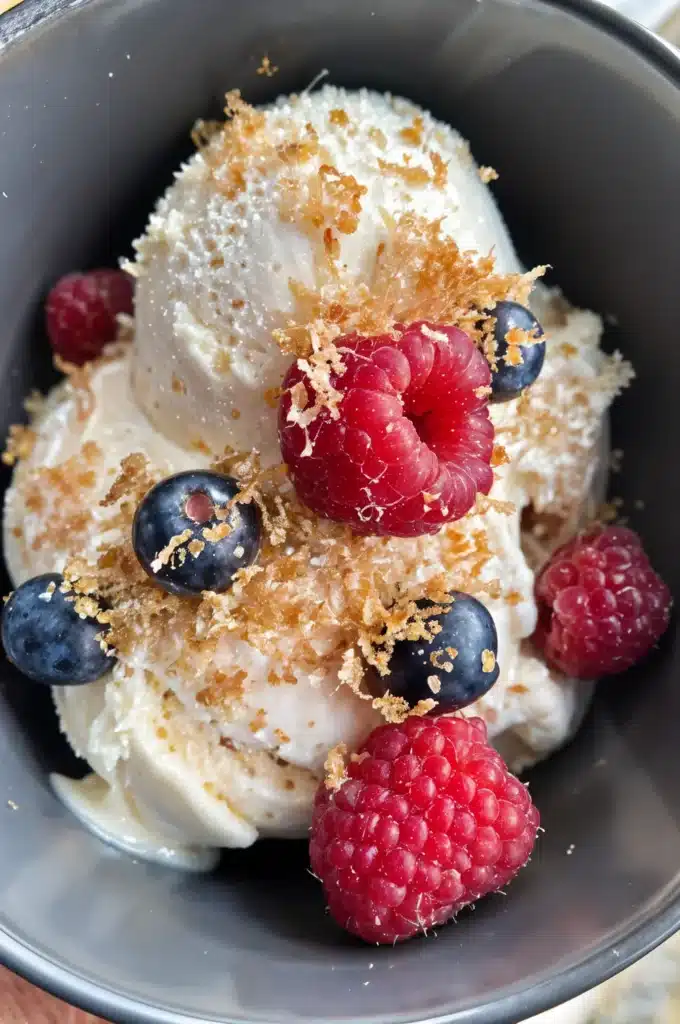
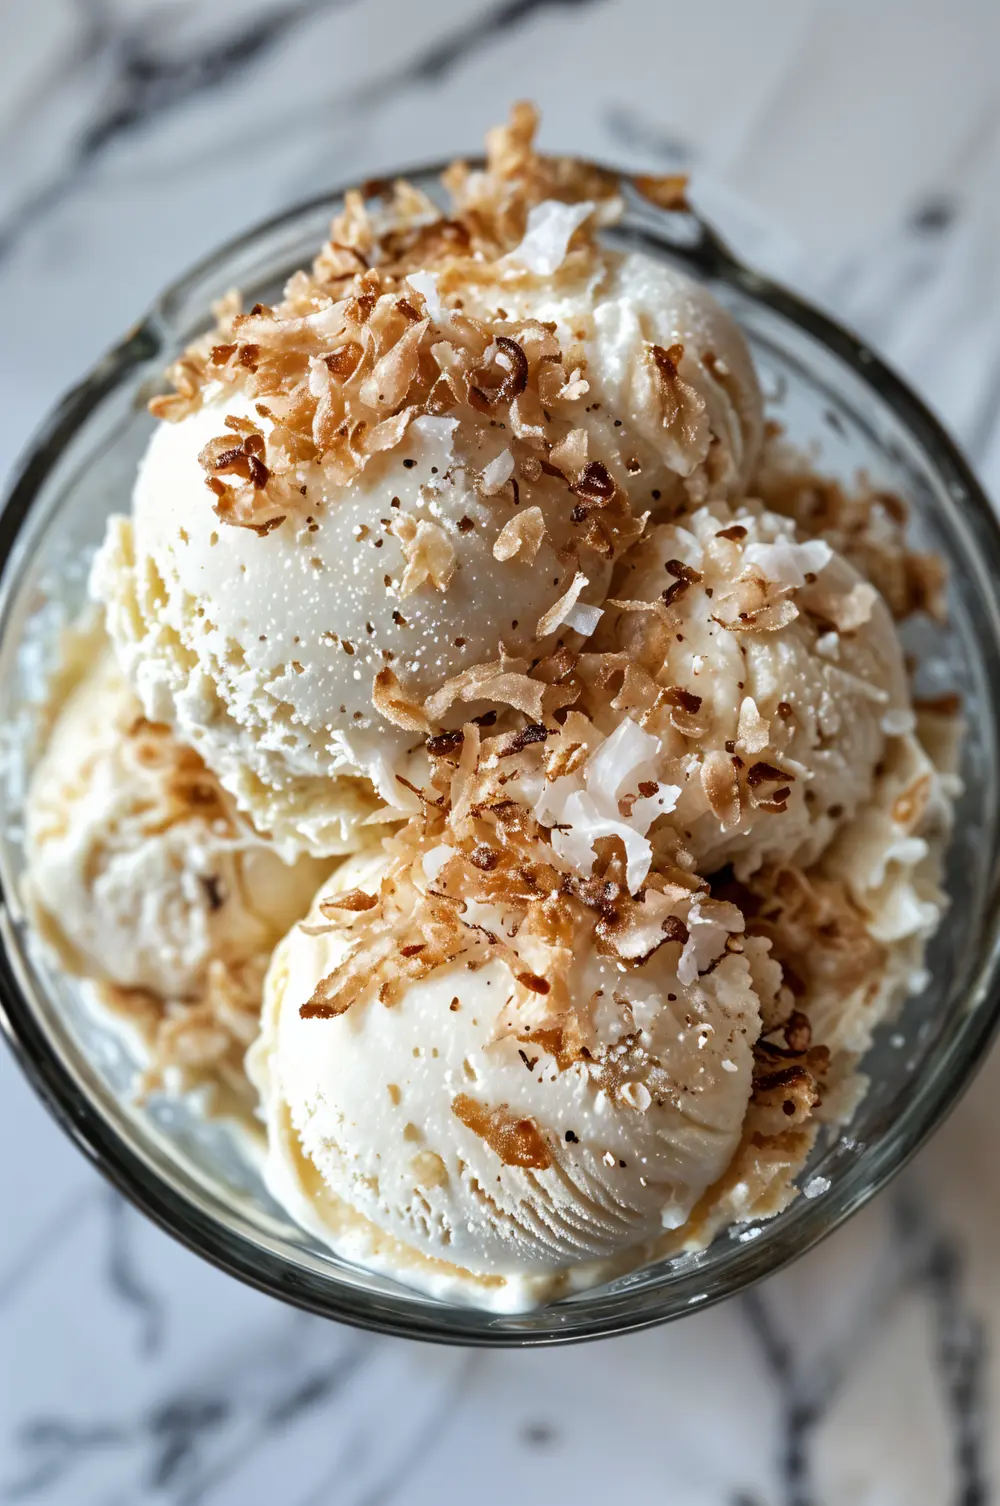
- Serve plain or top with toasted coconut flakes, fruit, or chocolate chips.
Quick Tips
Here’s how to make your coconut milk ice cream extra creamy and delicious every time:
- Always Use Full-Fat Coconut Milk: Lite coconut milk won’t give you the creamy texture true ice cream needs.
- Chill Your Coconut Milk: Refrigerate cans overnight to separate thick cream from the liquid.
- Blend Thoroughly: Ensure the coconut cream, sweetener, and vanilla are fully mixed for a smooth ice cream base.
- Stir While Freezing: Stirring every 30–45 minutes during freezing keeps ice crystals from forming, giving your coconut milk ice cream that store-bought creamy texture.
- Let It Soften Before Serving: After freezing, allow your ice cream to sit at room temp for 5–10 minutes to scoop easily.
- Use Liquid Sweetener: Maple syrup or agave keeps the texture smoother than granulated sugars.
- Add Protein Powder for Better Texture: Plant-based protein powder helps prevent iciness and boosts creaminess.
Flavor Variations & Substitutions
Once you master the basic coconut milk ice cream recipe, it’s easy to get creative! Here are some simple ways to customize your next batch:
Flavor Variations
- Coconut Chocolate Chip Ice Cream:
Stir in dairy-free chocolate chips just before freezing for a tropical chocolate twist. - Toasted Coconut Ice Cream:
Fold in 1/2 cup toasted coconut flakes after blending for extra texture and flavor. - Coconut Mango Ice Cream:
Blend 1/2 cup frozen mango chunks into the base for a fruity, tropical vibe. - Coconut Berry Swirl:
Layer in homemade berry compote before freezing for sweet, tangy swirls. - Almond Coconut Ice Cream:
Add 1/2 teaspoon almond extract and chopped almonds for a nutty variation. - Want something more whimsical?
Try this fun Moonbeam Ice Cream Recipe—another delicious coconut milk–based dairy-free dessert to explore!
Ingredient Swaps
- Sweetener:
Use agave syrup, date syrup, or honey (if not strictly vegan) instead of maple syrup. - Coconut Milk Alternatives:
If needed, use homemade cashew cream or oat cream. Note: Coconut milk gives the richest texture. - Vanilla Extract:
Swap with vanilla bean paste or scrape the seeds from a whole vanilla bean for extra vanilla flavor. - Protein Boost:
Blend in vanilla or unflavored plant-based protein powder for creaminess and protein.
if you’re a chocolate lover, don’t miss my Creamy Chocolate Dairy-Free Ice Cream—rich, indulgent, and 100% dairy-free
FAQ – Coconut Milk Ice Cream
Can I make coconut milk ice cream without an ice cream maker?
Yes! This is a no-churn coconut milk ice cream recipe. Simply blend the ingredients, pour into a container, and freeze—stirring every 30–45 minutes to keep the texture creamy.
Is coconut milk ice cream healthy?
This recipe uses full-fat coconut milk, natural sweeteners like maple syrup, and no refined sugar or additives. While rich in healthy fats, it’s a cleaner and more wholesome option compared to store-bought dairy-free ice creams.
Does coconut milk ice cream taste like coconut?
Yes, but the flavor is mild. Adding vanilla extract or mix-ins like chocolate chips or fruit can balance the coconut flavor if you prefer something subtler.
How do I store coconut milk ice cream?
Store your homemade ice cream in an airtight container in the freezer for up to 2 weeks. For the creamiest texture, let it sit at room temperature for 5–10 minutes before scooping.
This simple, creamy coconut milk ice cream recipe is proof that you don’t need dairy—or an expensive ice cream maker—to enjoy a delicious frozen treat at home. With just a few ingredients and some patience while it freezes, you can whip up a dessert that’s:
- 100% dairy-free and vegan-friendly.
- Naturally sweetened and refined sugar-free.
- A budget-friendly healthy dessert at about $1 per serving.
- Perfect for customizing with your favorite mix-ins.
Whether you stick with classic vanilla-coconut or swirl in chocolate chips or mango, this coconut milk ice cream is sure to satisfy your cravings.
Coconut Milk Ice Cream
Ingredients
Equipment
Method
- Refrigerate 2 cans of full-fat coconut milk overnight, or freeze for 30 minutes, to thicken the cream.
- Scoop the thick coconut cream into a blender or mixing bowl. Add maple syrup (or agave), vanilla extract, sea salt, and optional protein powder. Blend until completely smooth, scraping down sides as needed.
- Taste and adjust sweetness or texture with additional syrup or coconut water as needed.
- Pour the mixture into a freezer-safe pan (like a loaf pan). Cover tightly with plastic wrap or a lid.
- Stir the mixture every 30–45 minutes for the first 2–3 hours to prevent ice crystals and ensure creaminess. Freeze for 4–5 hours total.
- Before serving, let the ice cream soften for 5–10 minutes. Scoop and enjoy plain or with optional toppings like coconut flakes or fruit.


